HubSpot Tutorial
How to Connect Mailchimp to HubSpot: 1-Min Interactive Guide 2024
Integrate Mailchimp with HubSpot to streamline your email marketing and CRM workflows. Superjoin makes syncing data easy and efficient.
Table of Contents
Here's a quick step-by-step guide 🔝
Here's a quick step-by-step guide 🔝
Boost your marketing automation by integrating Mailchimp with HubSpot. Discover how to make your email marketing and CRM work hand-in-hand with Superjoin.
Why Connect Mailchimp to HubSpot?
Are you tired of manually transferring email marketing data from Mailchimp into HubSpot? Integrating Mailchimp with HubSpot allows you to:
Sync Email Campaign Data: Automatically send Mailchimp campaign performance data to HubSpot for analysis.
Unify Your Contact Lists: Keep both platforms up to date with shared contacts, ensuring you never miss a lead.
Create Seamless Workflows: Use combined data from both platforms to trigger automated workflows that improve engagement.
Integrating these platforms allows for more efficient marketing processes, letting you focus on building better relationships with your audience.
Method 1: Connecting Mailchimp to HubSpot Using Superjoin
Step-by-Step Guide:
Install Superjoin on Google Sheets
Open Google Sheets and navigate to the Extensions tab. Select Add-ons > Get add-ons.
Search for Superjoin in the Google Workspace Marketplace, install it, and grant necessary permissions.
Launch Superjoin from Extensions > Superjoin > Launch.
Alternatively, install Superjoin on Microsoft Excel
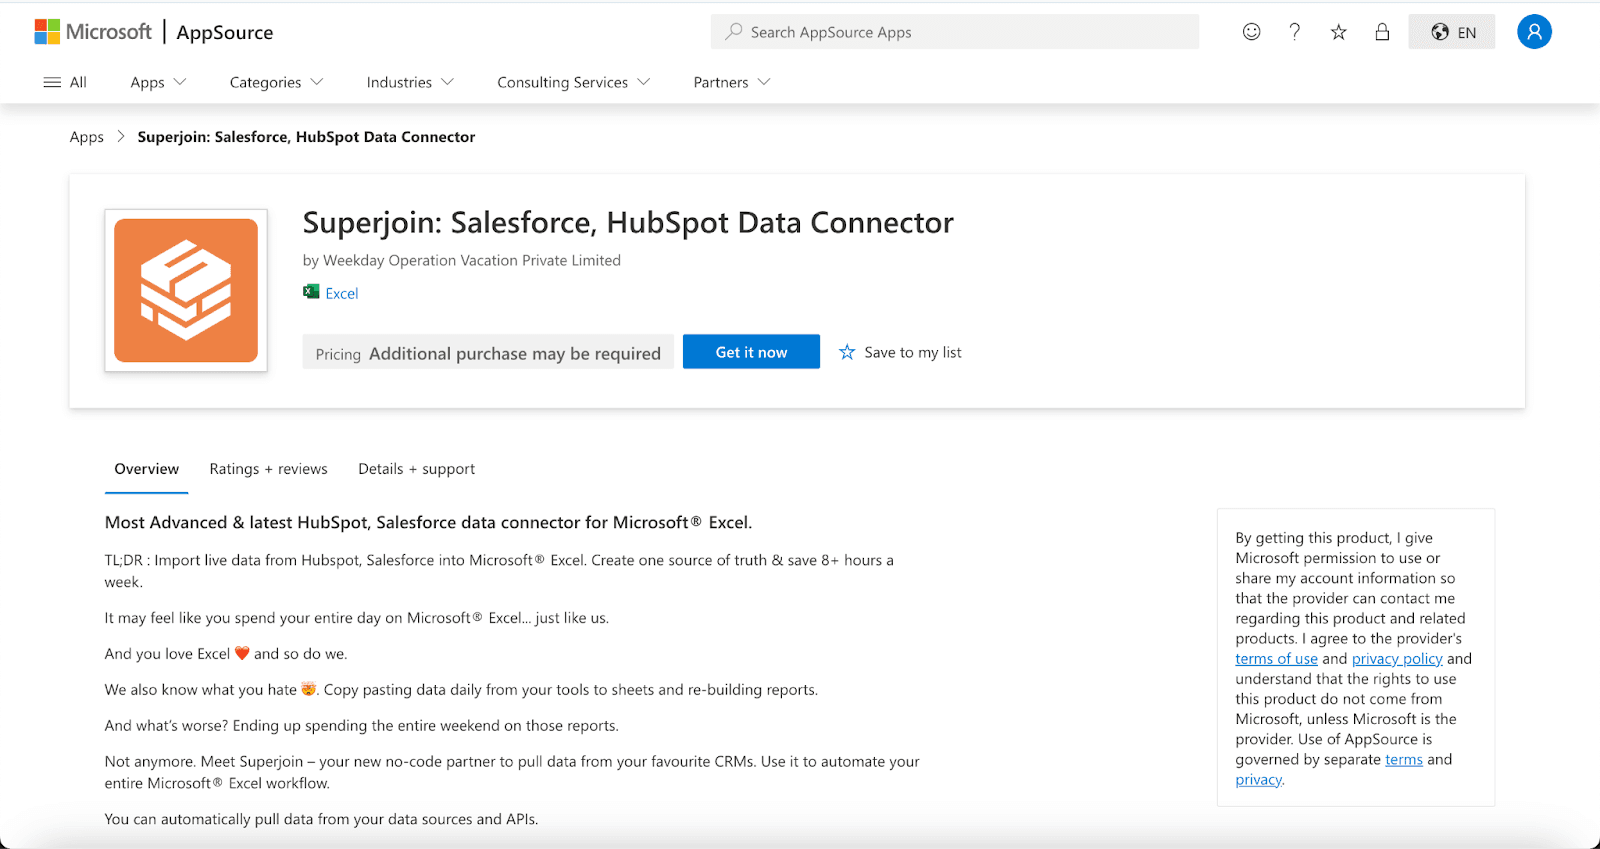
Open this link, click on Get it now.
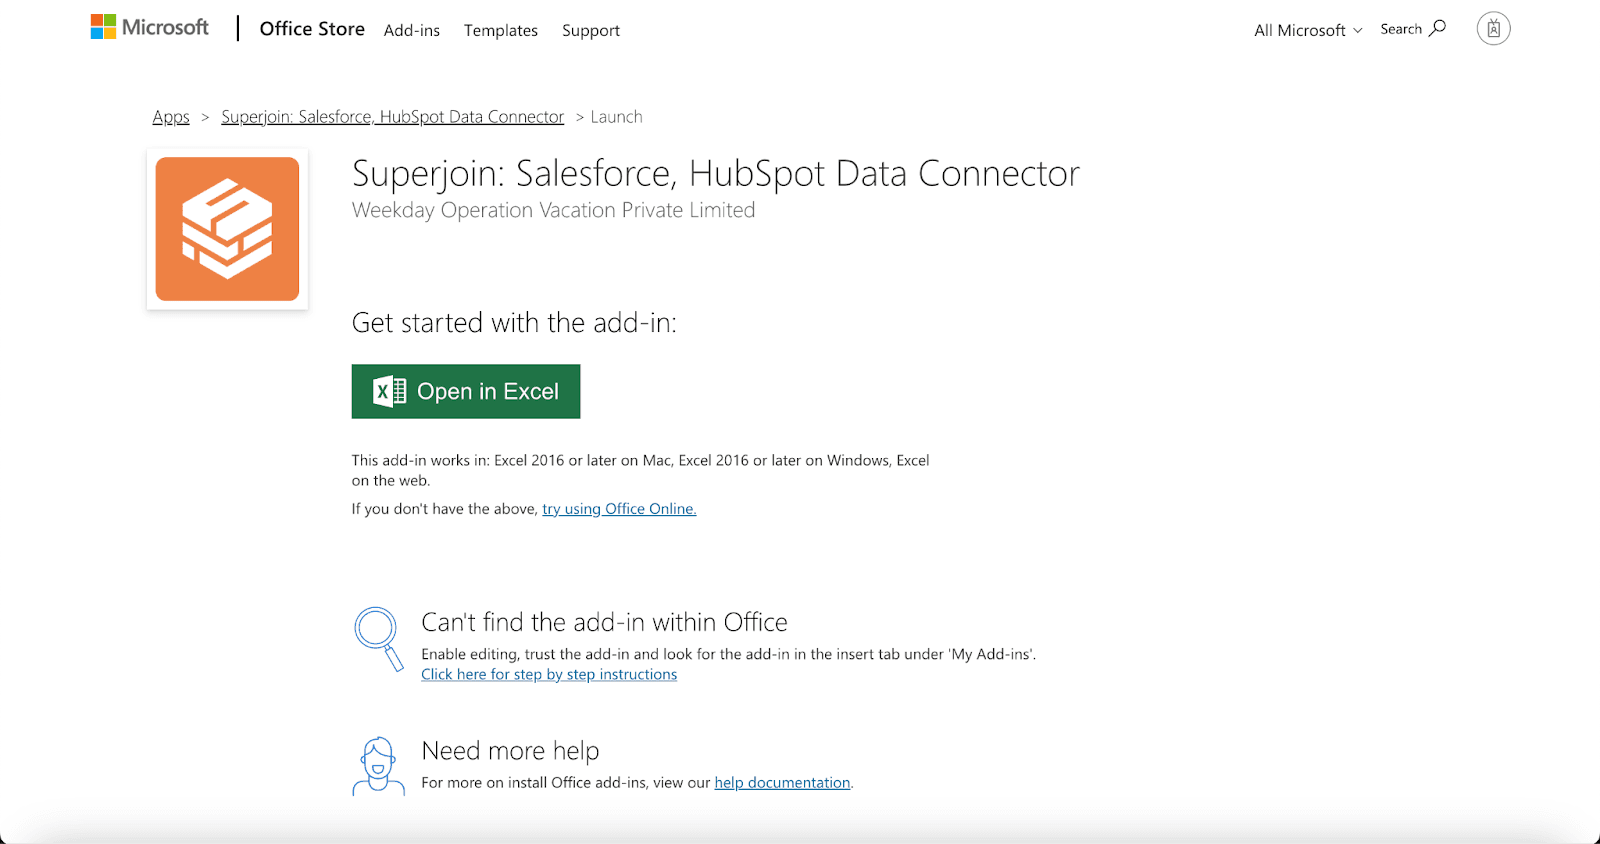
Once installed, click on Open in Excel or Try using it online (for Excel online).
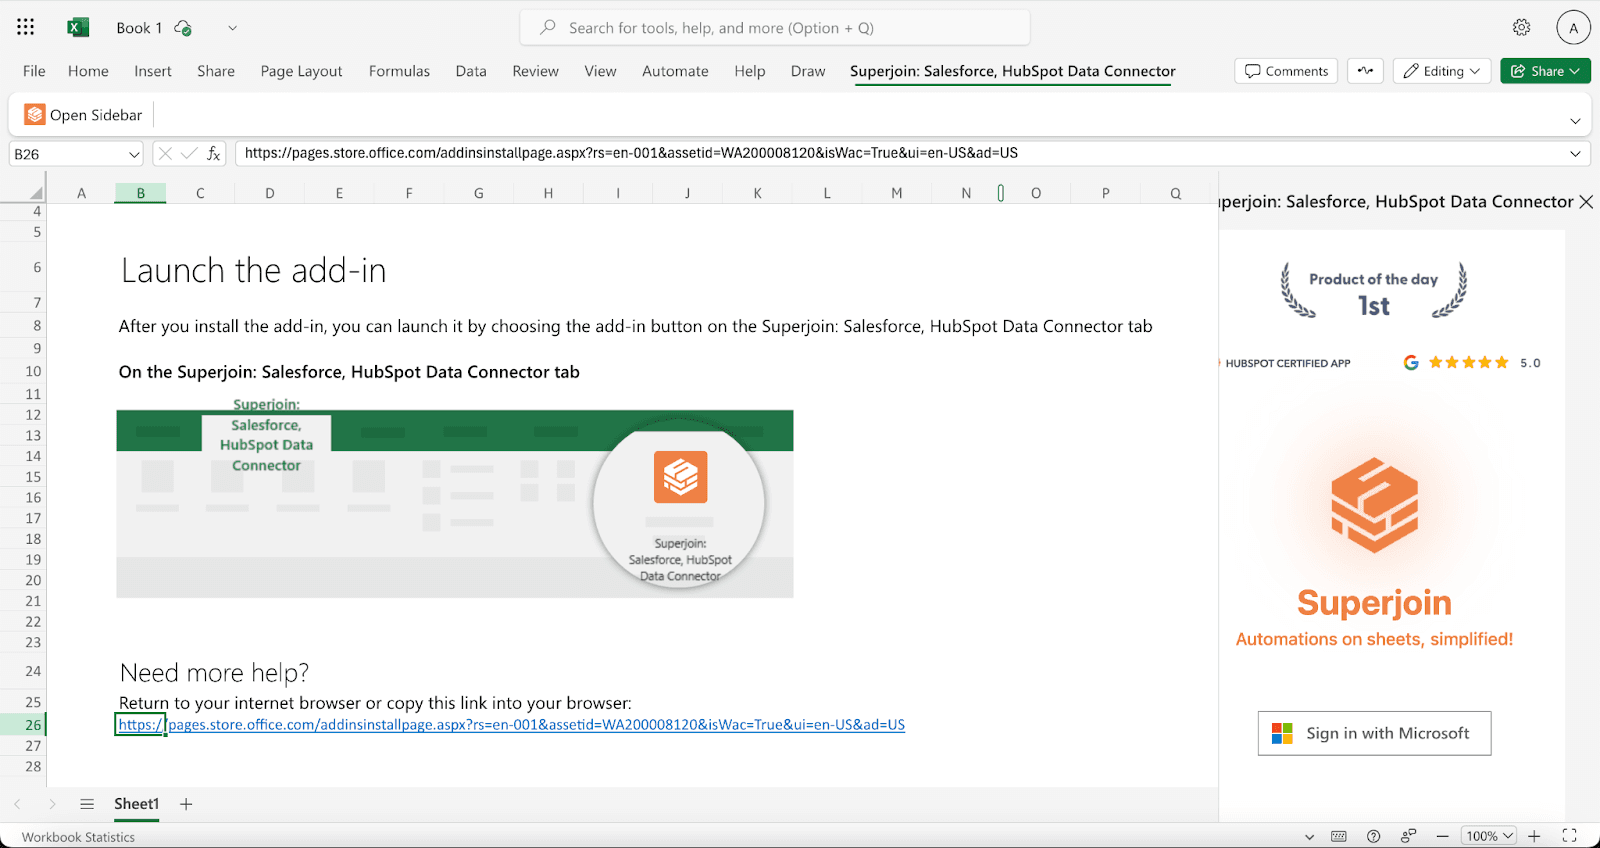
Launch Superjoin by opening the add-in and clicking on Open Sidebar. Login with your Microsoft account to start using Superjoin.
Connect and Import Data from Mailchimp
In the Superjoin sidebar, select Sources and choose Mailchimp.
Authenticate your Mailchimp account by following the prompts.
Choose the email campaign performance data or contacts you want to import into Google Sheets.
Export Data to HubSpot
In the Superjoin sidebar, navigate to sources, choose Hubspot as your source — click Export
Choose the sheet and header row containing the data to export.
Select the HubSpot Object (e.g., Contacts, Deals) and the type of action: Update, Insert or Delete Map fields from Mailchimp data to the corresponding fields in HubSpot, either manually or using Superjoin’s auto-mapping feature.
Complete the export to sync data between Mailchimp and HubSpot.
Benefits of Using Superjoin for Mailchimp-HubSpot Integration
Superjoin provides several advantages for syncing Mailchimp and HubSpot:
No Technical Skills Required: Superjoin makes integration simple, even for non-tech users.
Seamless Data Sync: Transfer data between Mailchimp and HubSpot using Google Sheets as an intermediary.
Advanced Control: Superjoin allows you to choose exactly which fields to map and customize how data flows between Mailchimp and HubSpot.
Real-Time Updates: Superjoin supports scheduled or real-time data syncing, ensuring your platforms are always up to date.
By using Superjoin, you can easily bridge the gap between your email marketing efforts and HubSpot’s CRM features.
Method 2: Native Integration via HubSpot's Mailchimp Integration
HubSpot offers a direct integration with Mailchimp for basic data syncing between the platforms.
Step-by-Step Guide:
Set Up the Integration
Log in to your HubSpot account and go to your dashboard.
Click on the Marketplace icon (the store icon) and search for Mailchimp.
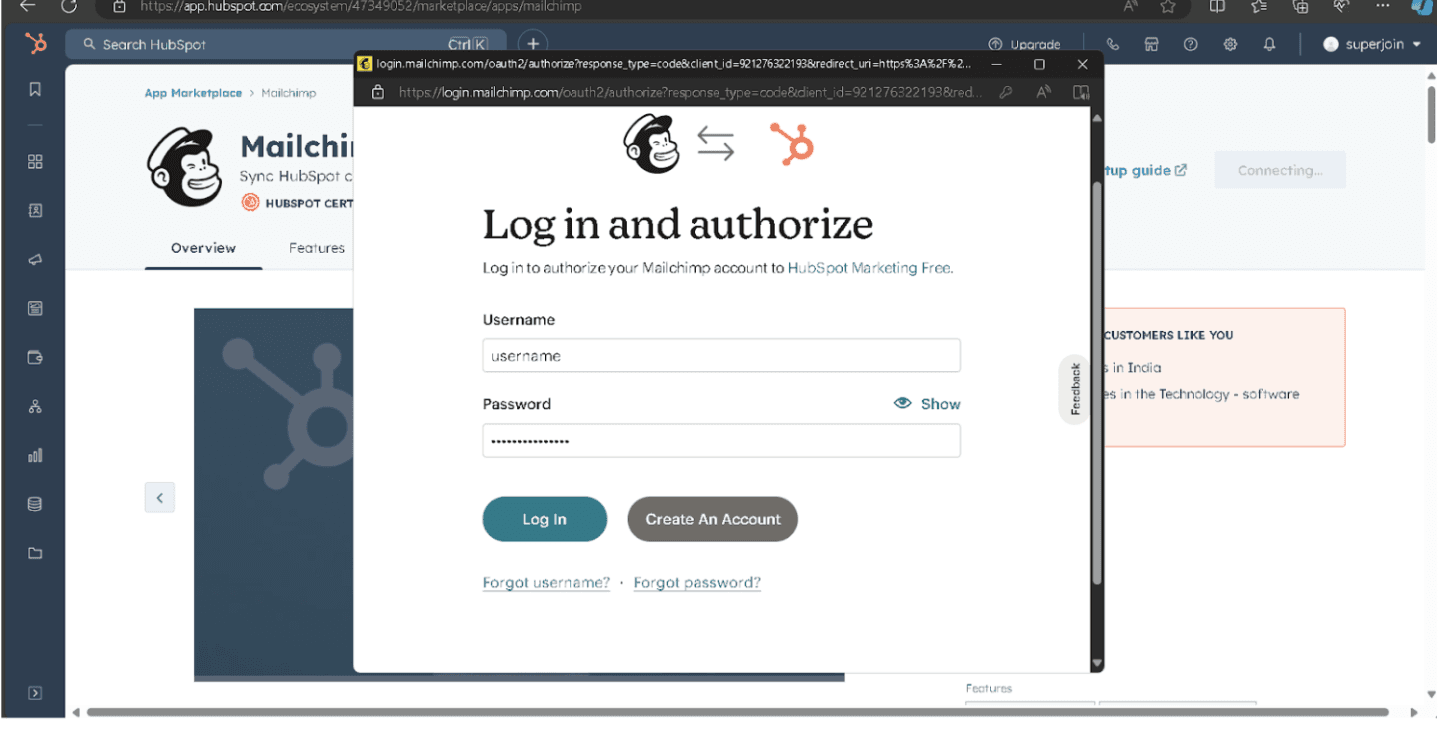
Click Connect App and follow the prompts to authenticate your Mailchimp account.
Configure Sync Settings
Once connected, configure the sync settings to automatically import Mailchimp contacts and campaign data into HubSpot.
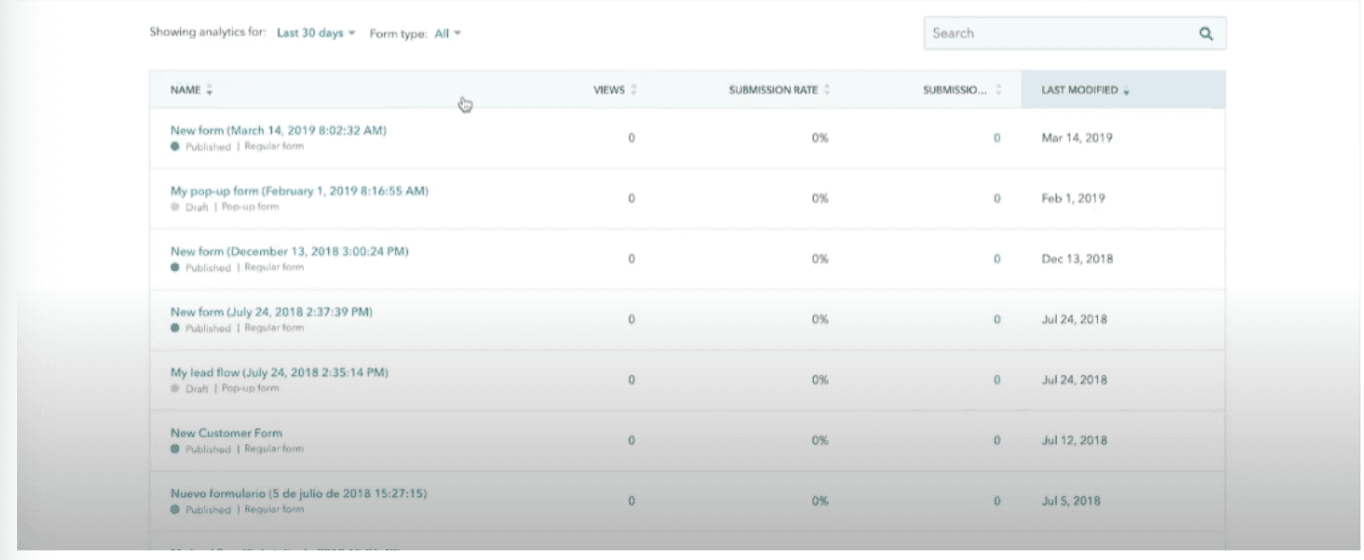
HubSpot will start syncing contacts, and you can view Mailchimp campaign data in your HubSpot dashboard.
Use Data in Workflows
You can now use Mailchimp data to create workflows in HubSpot, segment your contacts, and track campaign performance in real time.
Pros:
Simple Setup: Built-in integration with HubSpot for basic syncing.
Centralized Data: Access Mailchimp campaign data directly in HubSpot.
Basic Automation: HubSpot workflows can use Mailchimp data for automation.
Cons:
Limited Customization: Fewer options for advanced configurations.
Basic Analytics: Mailchimp data in HubSpot may lack the detail needed for advanced reporting.
Sync Delays: Mailchimp data may not be updated in real-time within HubSpot.
Method 3: Connecting Mailchimp to HubSpot via Zapier
Zapier is a powerful automation tool that connects different platforms and automates workflows between them.
Step-by-Step Guide:
Create a Zapier Account
Go to zapier.com and sign up for a free account. Log in to your dashboard.

Set Up a Zap
Click Create Zap in the Zapier dashboard.
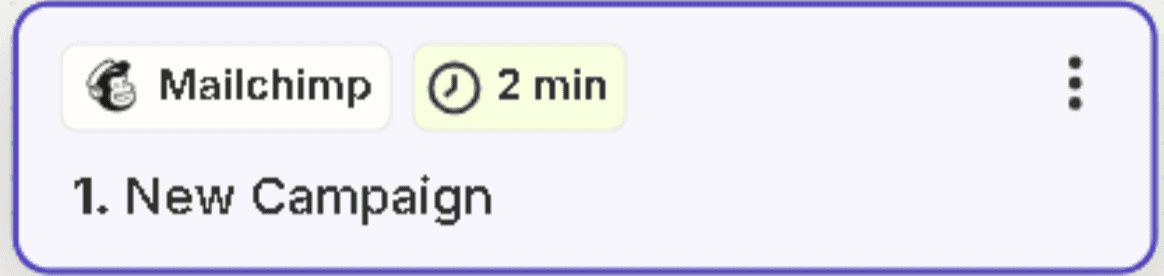
For the trigger app, select Mailchimp and choose an event like “New Subscriber” or “New Campaign Sent.”
Configure HubSpot Action
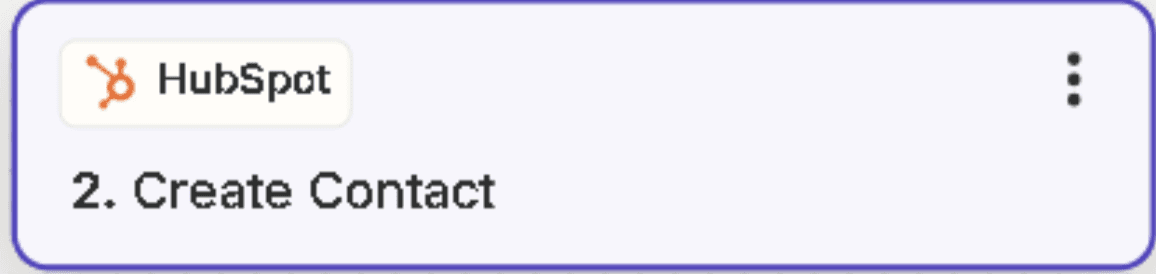
For the action app, select HubSpot and choose the action event (e.g., Create Contact or Update Contact).
Authenticate both your Mailchimp and HubSpot accounts to allow data flow between the platforms.
Map Data Fields
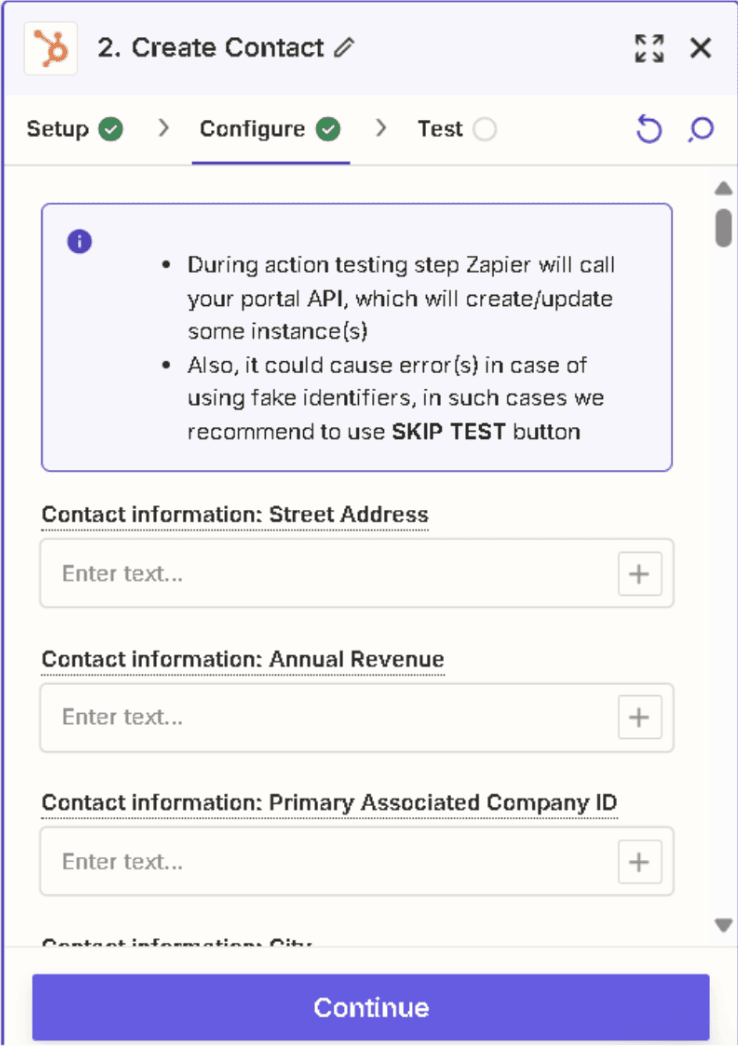
In the Zap setup, map the data fields from Mailchimp to HubSpot (e.g., email, name, phone number).
Test and Activate
Test the Zap to ensure everything works properly. Once tested, turn on the Zap to activate the integration.
Pros:
Automated Data Transfer: Set up workflows to automatically sync data between Mailchimp and HubSpot.
Customizable: Select specific triggers and actions for tailored workflows.
No Coding Required: Easy to set up for non-technical users.
Cons:
Limited Feature Set: May not offer the deep features or customizations of a native integration.
Costs: Pricing increases with the number of Zaps and usage.
Sync Delays: Syncing between platforms may not happen instantly.
Conclusion
Connecting Mailchimp to HubSpot enables you to create more powerful marketing automation and unify your data across both platforms. By integrating these tools using Superjoin, you can:
Create more personalized email campaigns
Improve lead generation and segmentation
Centralize your marketing efforts for easier analysis and reporting
Boost your marketing automation by integrating Mailchimp with HubSpot. Discover how to make your email marketing and CRM work hand-in-hand with Superjoin.
Why Connect Mailchimp to HubSpot?
Are you tired of manually transferring email marketing data from Mailchimp into HubSpot? Integrating Mailchimp with HubSpot allows you to:
Sync Email Campaign Data: Automatically send Mailchimp campaign performance data to HubSpot for analysis.
Unify Your Contact Lists: Keep both platforms up to date with shared contacts, ensuring you never miss a lead.
Create Seamless Workflows: Use combined data from both platforms to trigger automated workflows that improve engagement.
Integrating these platforms allows for more efficient marketing processes, letting you focus on building better relationships with your audience.
Method 1: Connecting Mailchimp to HubSpot Using Superjoin
Step-by-Step Guide:
Install Superjoin on Google Sheets
Open Google Sheets and navigate to the Extensions tab. Select Add-ons > Get add-ons.
Search for Superjoin in the Google Workspace Marketplace, install it, and grant necessary permissions.
Launch Superjoin from Extensions > Superjoin > Launch.
Alternatively, install Superjoin on Microsoft Excel
Open this link, click on Get it now.
Once installed, click on Open in Excel or Try using it online (for Excel online).
Launch Superjoin by opening the add-in and clicking on Open Sidebar. Login with your Microsoft account to start using Superjoin.
Connect and Import Data from Mailchimp
In the Superjoin sidebar, select Sources and choose Mailchimp.
Authenticate your Mailchimp account by following the prompts.
Choose the email campaign performance data or contacts you want to import into Google Sheets.
Export Data to HubSpot
In the Superjoin sidebar, navigate to sources, choose Hubspot as your source — click Export
Choose the sheet and header row containing the data to export.
Select the HubSpot Object (e.g., Contacts, Deals) and the type of action: Update, Insert or Delete Map fields from Mailchimp data to the corresponding fields in HubSpot, either manually or using Superjoin’s auto-mapping feature.
Complete the export to sync data between Mailchimp and HubSpot.
Benefits of Using Superjoin for Mailchimp-HubSpot Integration
Superjoin provides several advantages for syncing Mailchimp and HubSpot:
No Technical Skills Required: Superjoin makes integration simple, even for non-tech users.
Seamless Data Sync: Transfer data between Mailchimp and HubSpot using Google Sheets as an intermediary.
Advanced Control: Superjoin allows you to choose exactly which fields to map and customize how data flows between Mailchimp and HubSpot.
Real-Time Updates: Superjoin supports scheduled or real-time data syncing, ensuring your platforms are always up to date.
By using Superjoin, you can easily bridge the gap between your email marketing efforts and HubSpot’s CRM features.
Method 2: Native Integration via HubSpot's Mailchimp Integration
HubSpot offers a direct integration with Mailchimp for basic data syncing between the platforms.
Step-by-Step Guide:
Set Up the Integration
Log in to your HubSpot account and go to your dashboard.
Click on the Marketplace icon (the store icon) and search for Mailchimp.
Click Connect App and follow the prompts to authenticate your Mailchimp account.
Configure Sync Settings
Once connected, configure the sync settings to automatically import Mailchimp contacts and campaign data into HubSpot.
HubSpot will start syncing contacts, and you can view Mailchimp campaign data in your HubSpot dashboard.
Use Data in Workflows
You can now use Mailchimp data to create workflows in HubSpot, segment your contacts, and track campaign performance in real time.
Pros:
Simple Setup: Built-in integration with HubSpot for basic syncing.
Centralized Data: Access Mailchimp campaign data directly in HubSpot.
Basic Automation: HubSpot workflows can use Mailchimp data for automation.
Cons:
Limited Customization: Fewer options for advanced configurations.
Basic Analytics: Mailchimp data in HubSpot may lack the detail needed for advanced reporting.
Sync Delays: Mailchimp data may not be updated in real-time within HubSpot.
Method 3: Connecting Mailchimp to HubSpot via Zapier
Zapier is a powerful automation tool that connects different platforms and automates workflows between them.
Step-by-Step Guide:
Create a Zapier Account
Go to zapier.com and sign up for a free account. Log in to your dashboard.
Set Up a Zap
Click Create Zap in the Zapier dashboard.
For the trigger app, select Mailchimp and choose an event like “New Subscriber” or “New Campaign Sent.”
Configure HubSpot Action
For the action app, select HubSpot and choose the action event (e.g., Create Contact or Update Contact).
Authenticate both your Mailchimp and HubSpot accounts to allow data flow between the platforms.
Map Data Fields
In the Zap setup, map the data fields from Mailchimp to HubSpot (e.g., email, name, phone number).
Test and Activate
Test the Zap to ensure everything works properly. Once tested, turn on the Zap to activate the integration.
Pros:
Automated Data Transfer: Set up workflows to automatically sync data between Mailchimp and HubSpot.
Customizable: Select specific triggers and actions for tailored workflows.
No Coding Required: Easy to set up for non-technical users.
Cons:
Limited Feature Set: May not offer the deep features or customizations of a native integration.
Costs: Pricing increases with the number of Zaps and usage.
Sync Delays: Syncing between platforms may not happen instantly.
Conclusion
Connecting Mailchimp to HubSpot enables you to create more powerful marketing automation and unify your data across both platforms. By integrating these tools using Superjoin, you can:
Create more personalized email campaigns
Improve lead generation and segmentation
Centralize your marketing efforts for easier analysis and reporting
FAQs
Why should I integrate Mailchimp with HubSpot?
Why should I integrate Mailchimp with HubSpot?
Is coding required to integrate Mailchimp with HubSpot using Superjoin?
Is coding required to integrate Mailchimp with HubSpot using Superjoin?
Can I sync email campaign data from Mailchimp to HubSpot?
Can I sync email campaign data from Mailchimp to HubSpot?
Automatic Data Pulls
Visual Data Preview
Set Alerts
other related blogs


Try it now