Table of Contents

Efficiency is crucial in the fast-paced digital world of today, and Excel provides strong capabilities to make data administration easier. The autofill option, which may save you countless hours by automatically filling in data based on patterns you define, is one of these crucial tools. Knowing how to use Excel autofill can greatly increase your productivity, whether you're dealing with complicated datasets or a limited budget.
We'll go over several ways to use the autofill feature in this post, giving you the freedom to select the one that works best for you.
Different Methods to Autofill on Excel
Method 1: Basic Autofill with Drag-and-Drop
The most common way to use autofill in Excel is by using the drag-and-drop method. This method is ideal for extending a sequence of numbers, dates, or even formulas.
Step-by-Step Guide:
Select the Cell(s): Start by entering the initial value in a cell. For example, type "1" in cell A2.
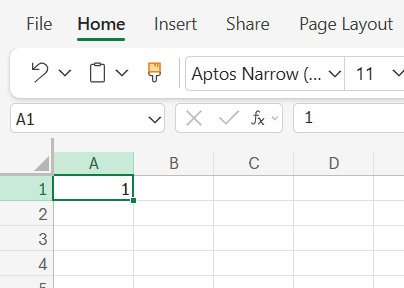
Hover Over the Corner: Move your cursor to the bottom-right corner of the selected cell until it changes to a small cross (+).

Drag to Autofill: Click and drag down or across to the desired range. Excel will automatically fill in the following numbers, dates, or formulas.
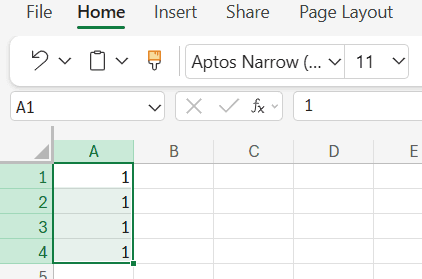
Advantages: This method is quick and effective for simple sequences and data patterns. It's also incredibly intuitive, requiring minimal steps.
Limitations: The drag-and-drop method can become cumbersome for larger datasets, and it may not work well with non-sequential data.
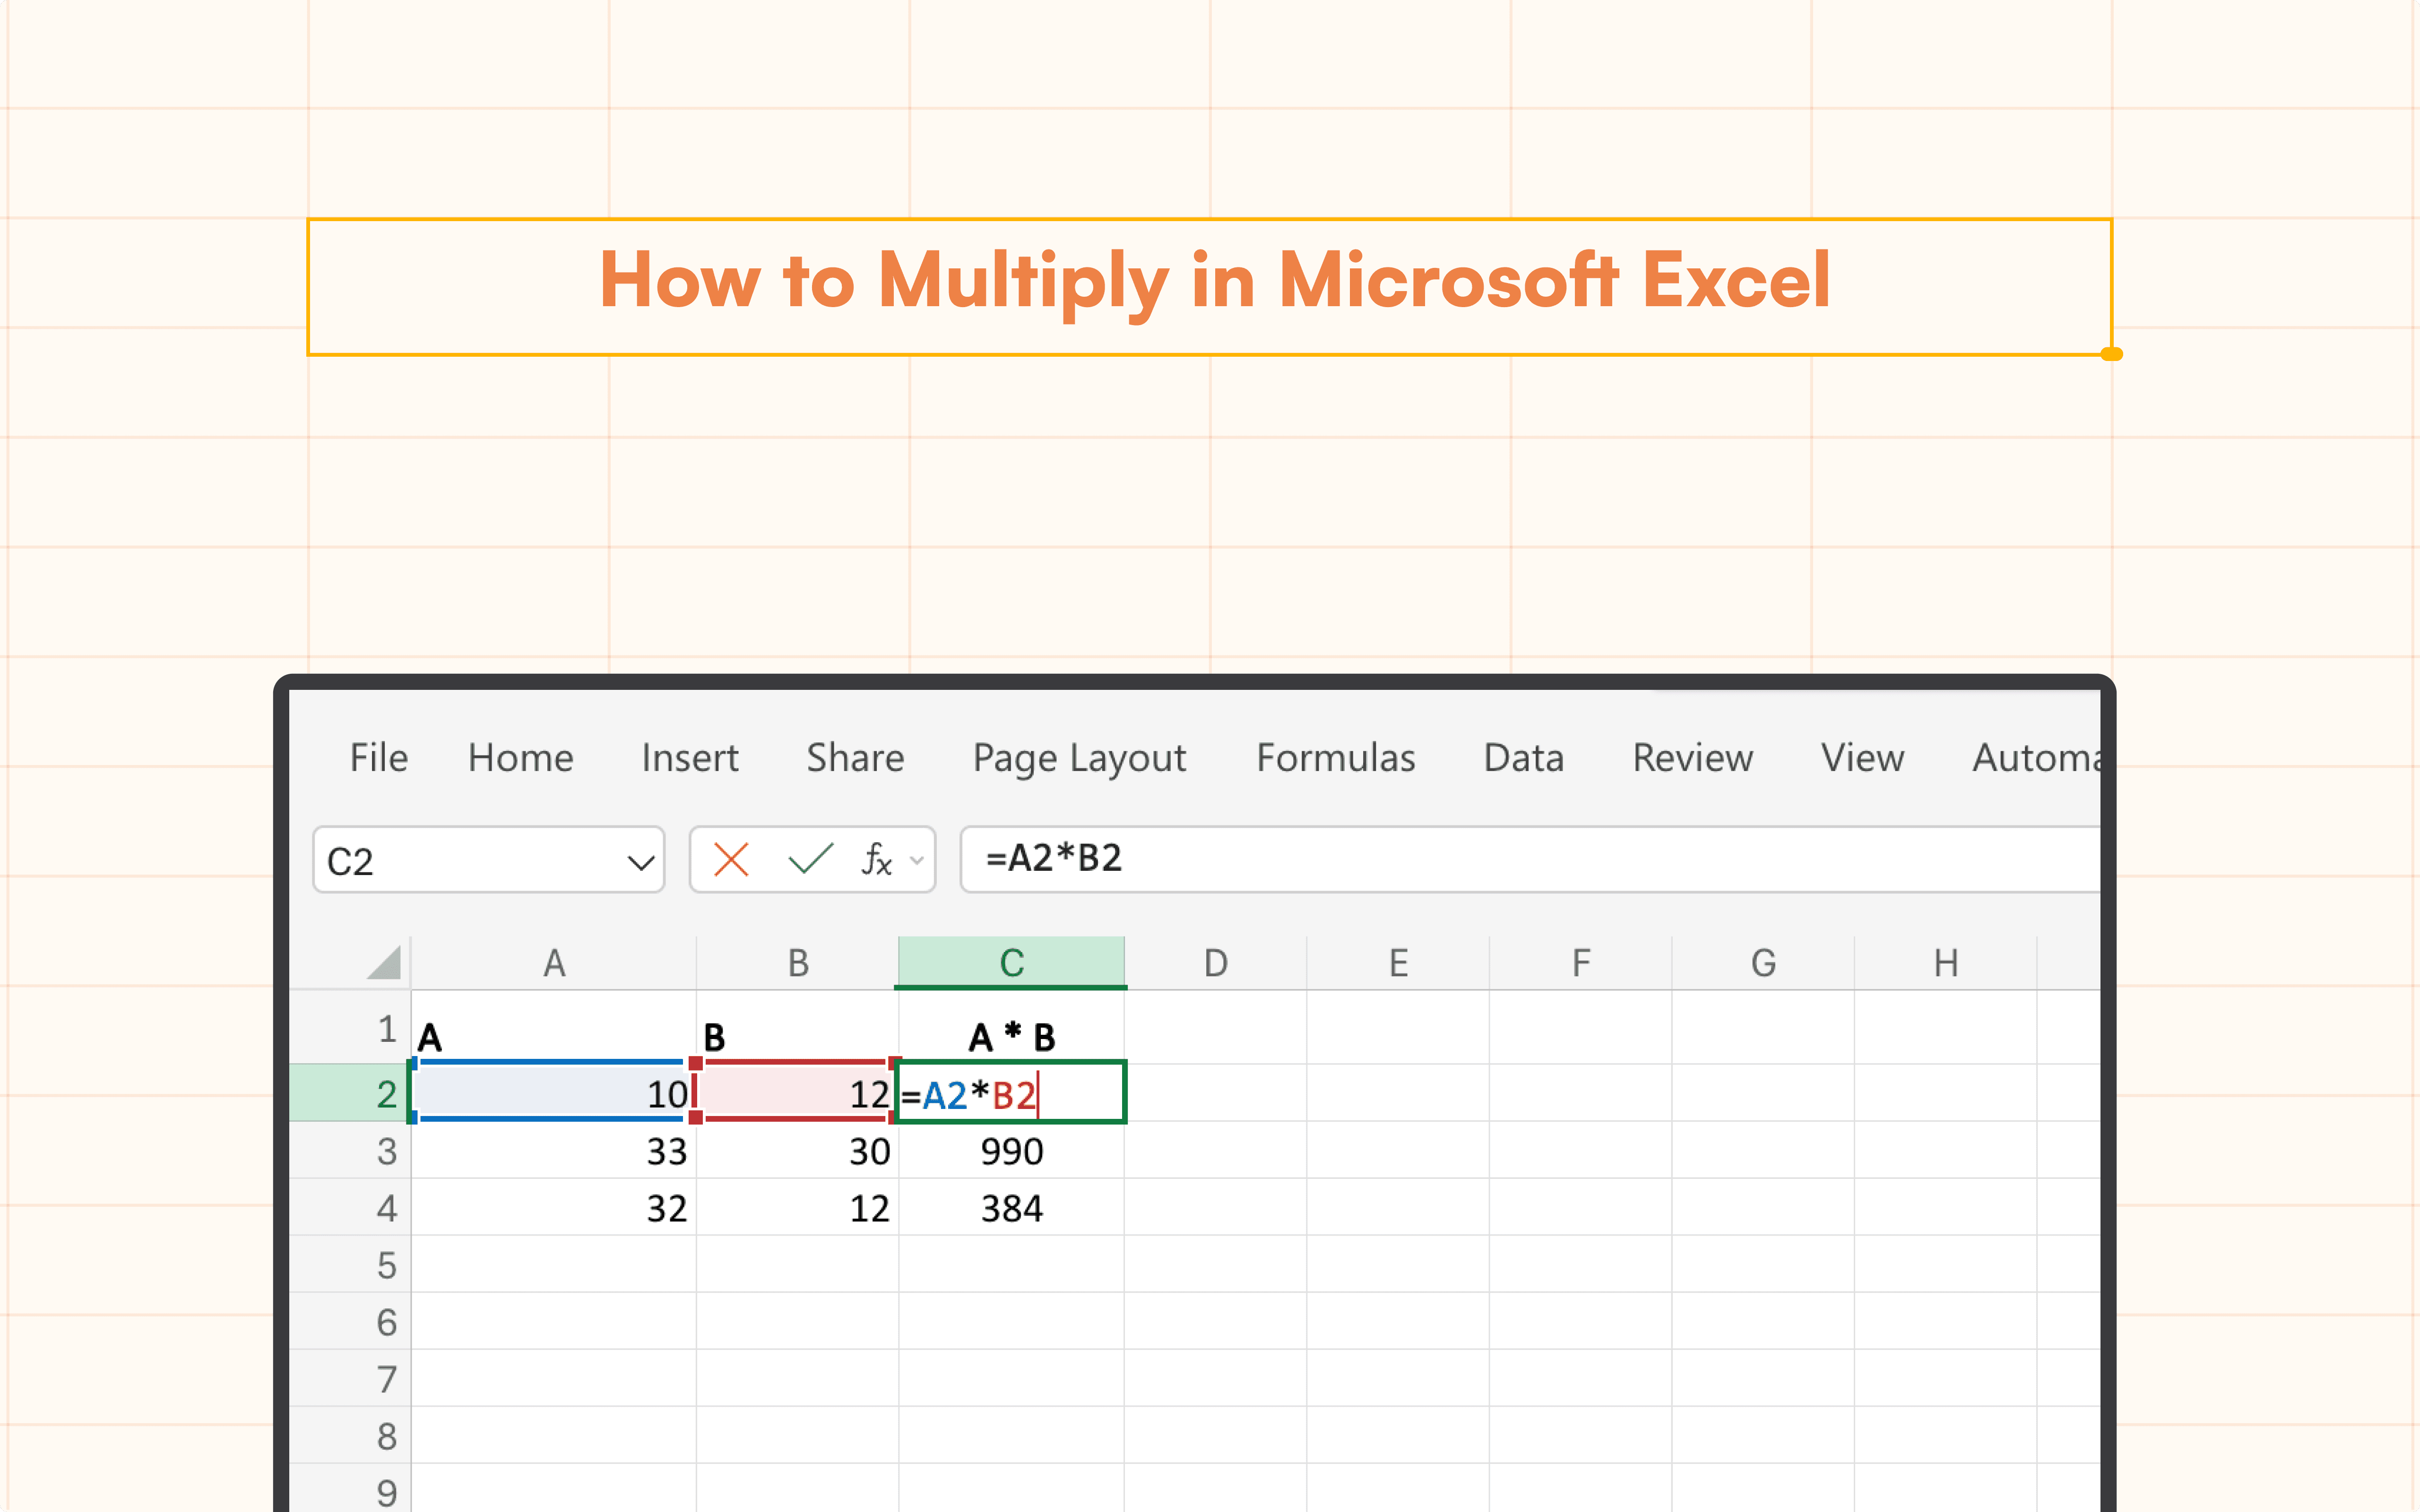
Method 2: Using the Fill Handle with Formulas
Another way to autofill Excel is by using the fill handle in combination with formulas. This method is particularly useful when you need to apply a formula to an entire column or row.
Step-by-Step Guide:
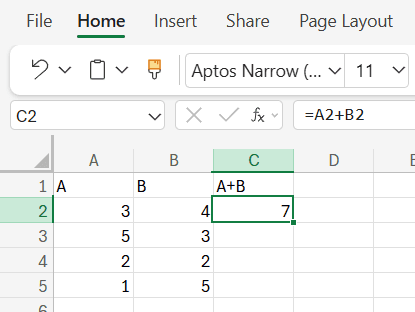
Enter the Formula: Input your formula in the first cell of the column. For example, =A2+B2 in cell C2.

Apply the Fill Handle: Hover over the bottom-right corner of the cell containing the formula until the cursor changes to a cross (+).
Double-Click to Autofill: Double-click the fill handle, and Microsoft Excel will autofill the formula down the entire column.

Advantages: This method is perfect for large datasets, saving you the hassle of manually copying formulas across multiple cells.
Limitations: It assumes that all cells in the preceding columns have data. If there are gaps, the autofill will stop prematurely.
Method 3: Using Keyboard Shortcuts
For those who prefer keyboard shortcuts, Excel also provides a quick way to autofill data using a combination of keys.
Step-by-Step Guide:
Select the Starting Cell: Highlight the cell where you want to begin the autofill.
Use the Keyboard Shortcut: To autofill across a range, select the starting cell, hold Shift, and then press the arrow key in the direction you want to fill. Press Ctrl + Enter (Cmd + Return) to autofill a range of cells with the selected data.

Advantages: This method is extremely fast and efficient, especially when working within a specific range of data.
Limitations: Keyboard shortcuts may take some time to get used to, and they might not be as intuitive as the drag-and-drop method for beginners.
Conclusion
Anyone who works with data will find that knowing how to use Excel autofill is a useful ability. These tools are made to make your life easier, whether you're utilizing the straightforward drag-and-drop method, keyboard shortcuts, or more sophisticated strategies like custom lists. You may increase productivity, cut down on mistakes, and save time by selecting the best approach for your needs.
Regardless of the complexity of your projects, integrating these autofill techniques into your workflow not only increases efficiency but also aids in better data management.
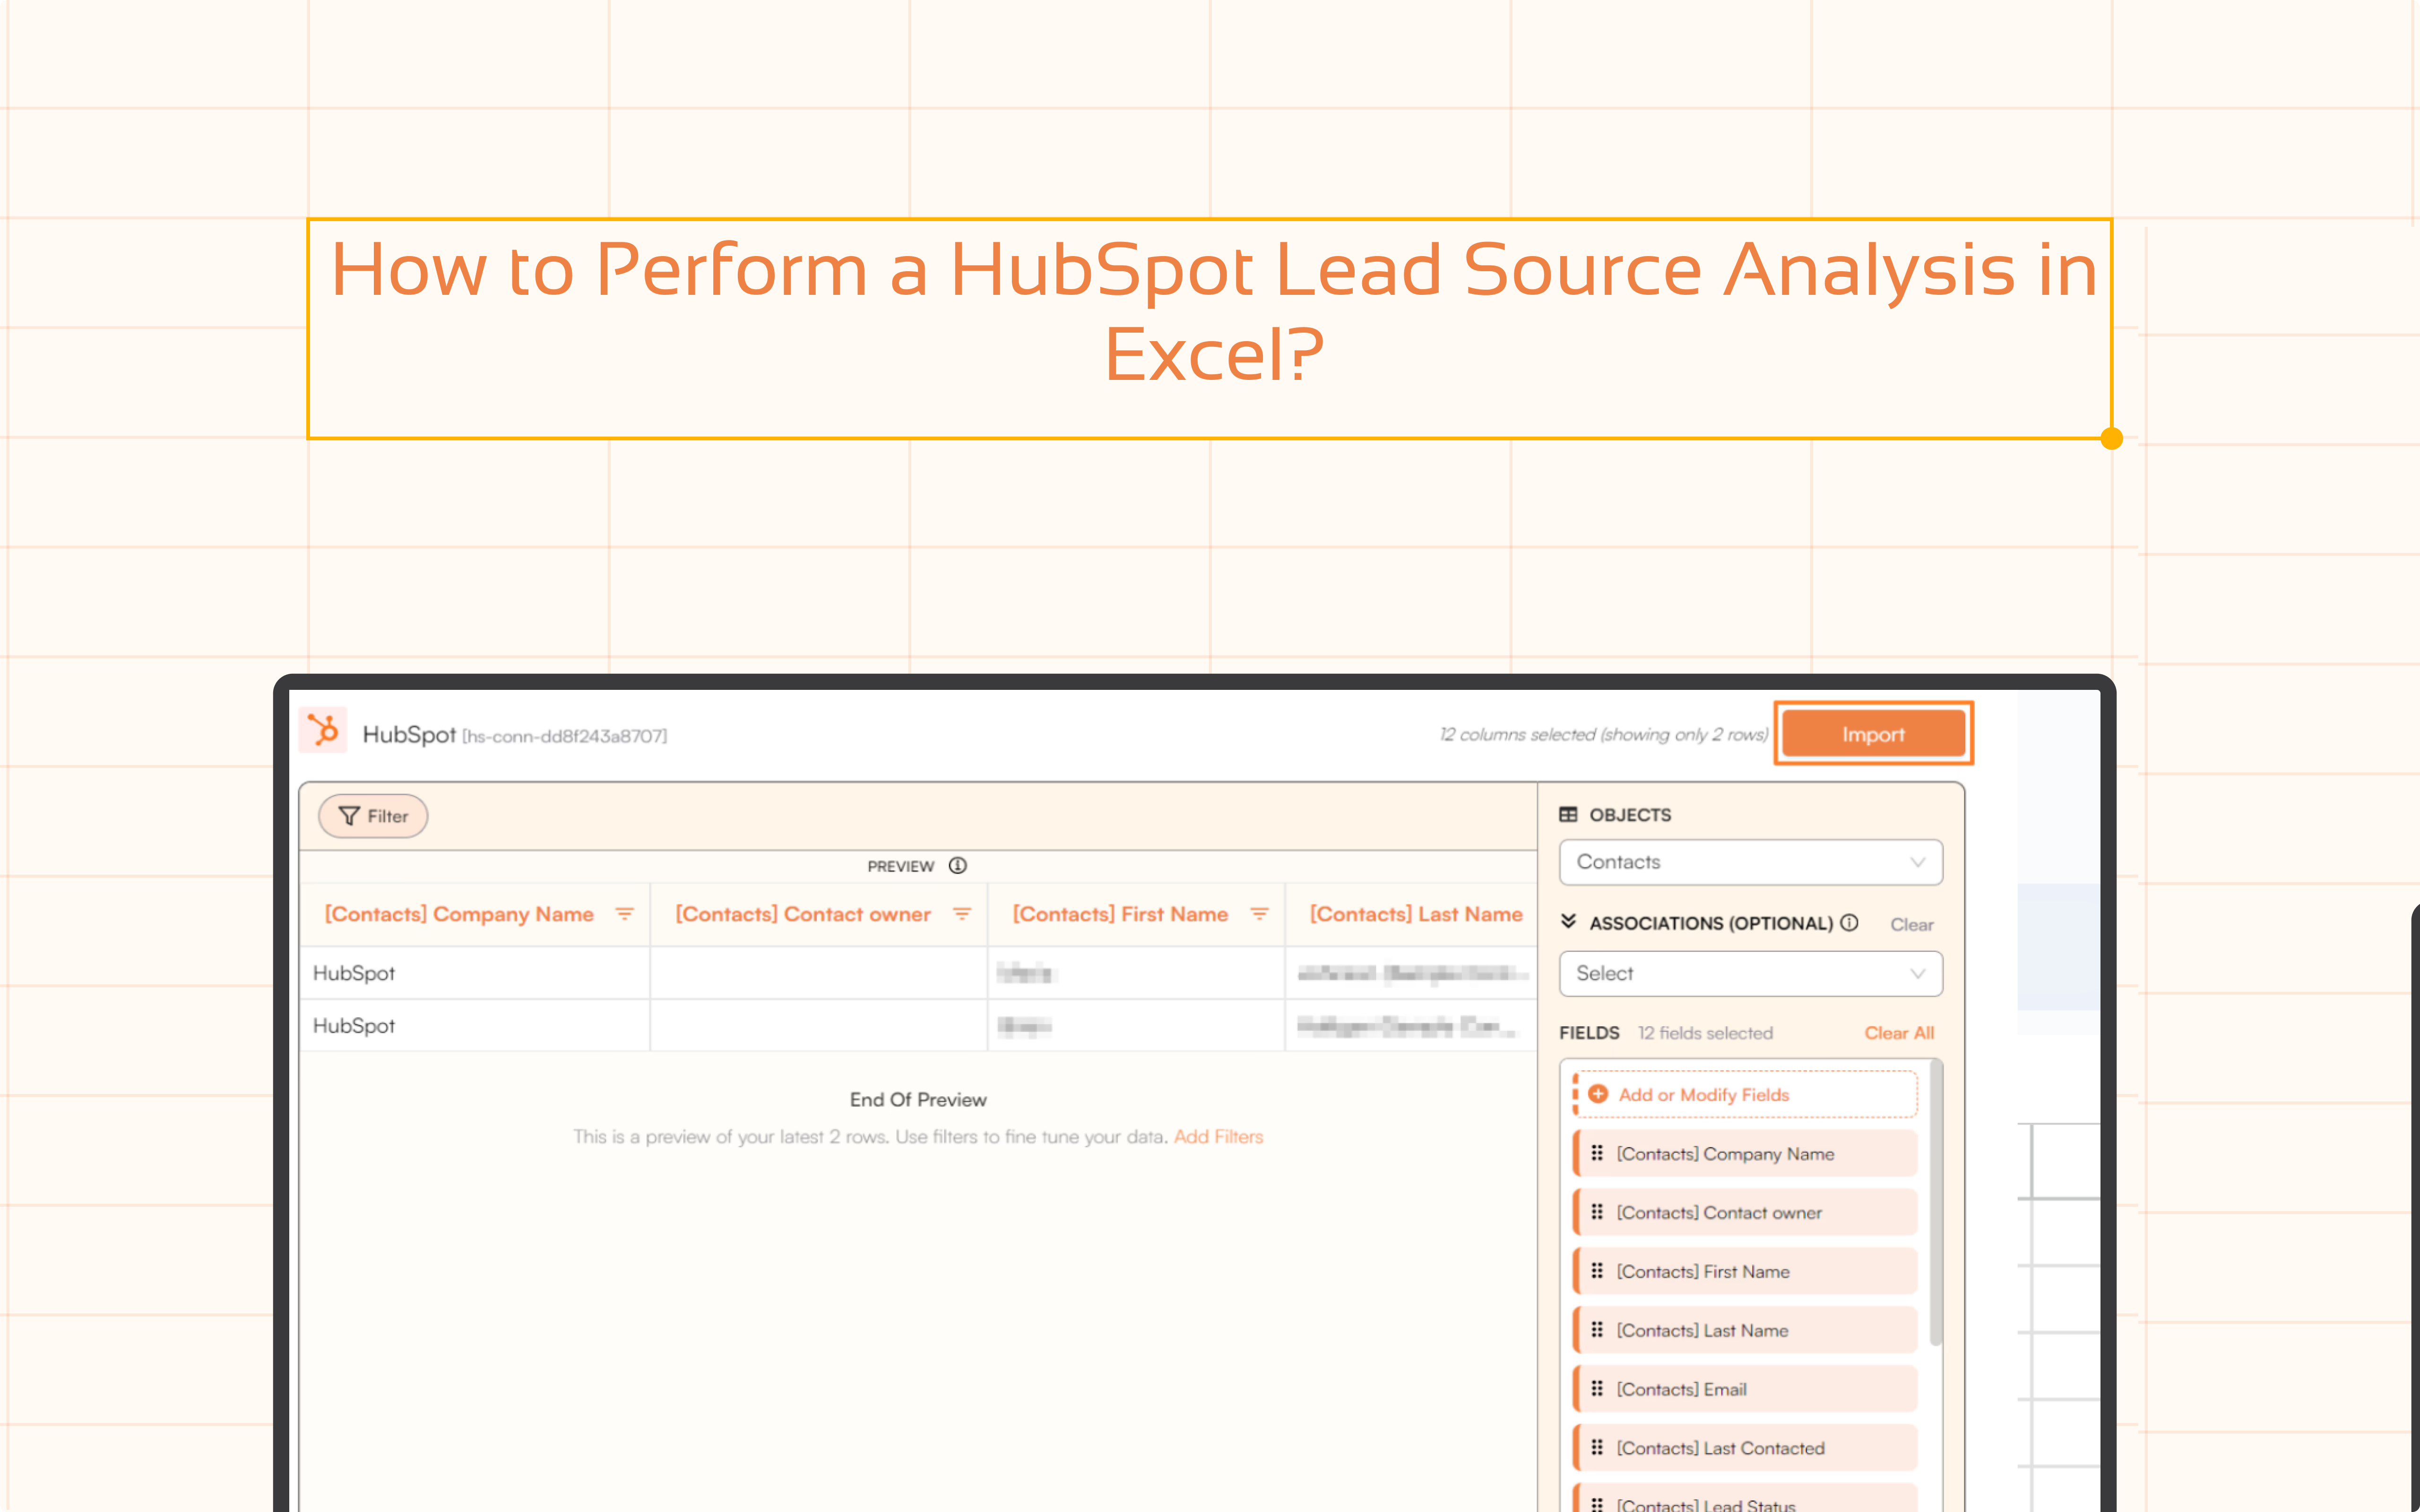
Say Goodbye to Tedious Data Exports! 🚀
Are you tired of the hassle of manually moving data from various tools into Excel? Superjoin has a solution for you.
Superjoin is an Excel add-in that automatically connects your favorite SaaS tools to your spreadsheets. It pulls data directly into Excel, allowing you to create reports that update themselves without any manual work on your part.
Bid farewell to tedious exports and repetitive tasks. With Superjoin, you can add one additional day to your week. Try Superjoin for free or schedule a demo.
FAQs
Can I Autofill Non-Sequential Data in Excel?
What Happens if My Autofill Stops Prematurely?
Can I Undo Autofill if I Make a Mistake?
Automatic Data Pulls
Visual Data Preview
Set Alerts
other related blogs