Microsoft Excel Tutorial
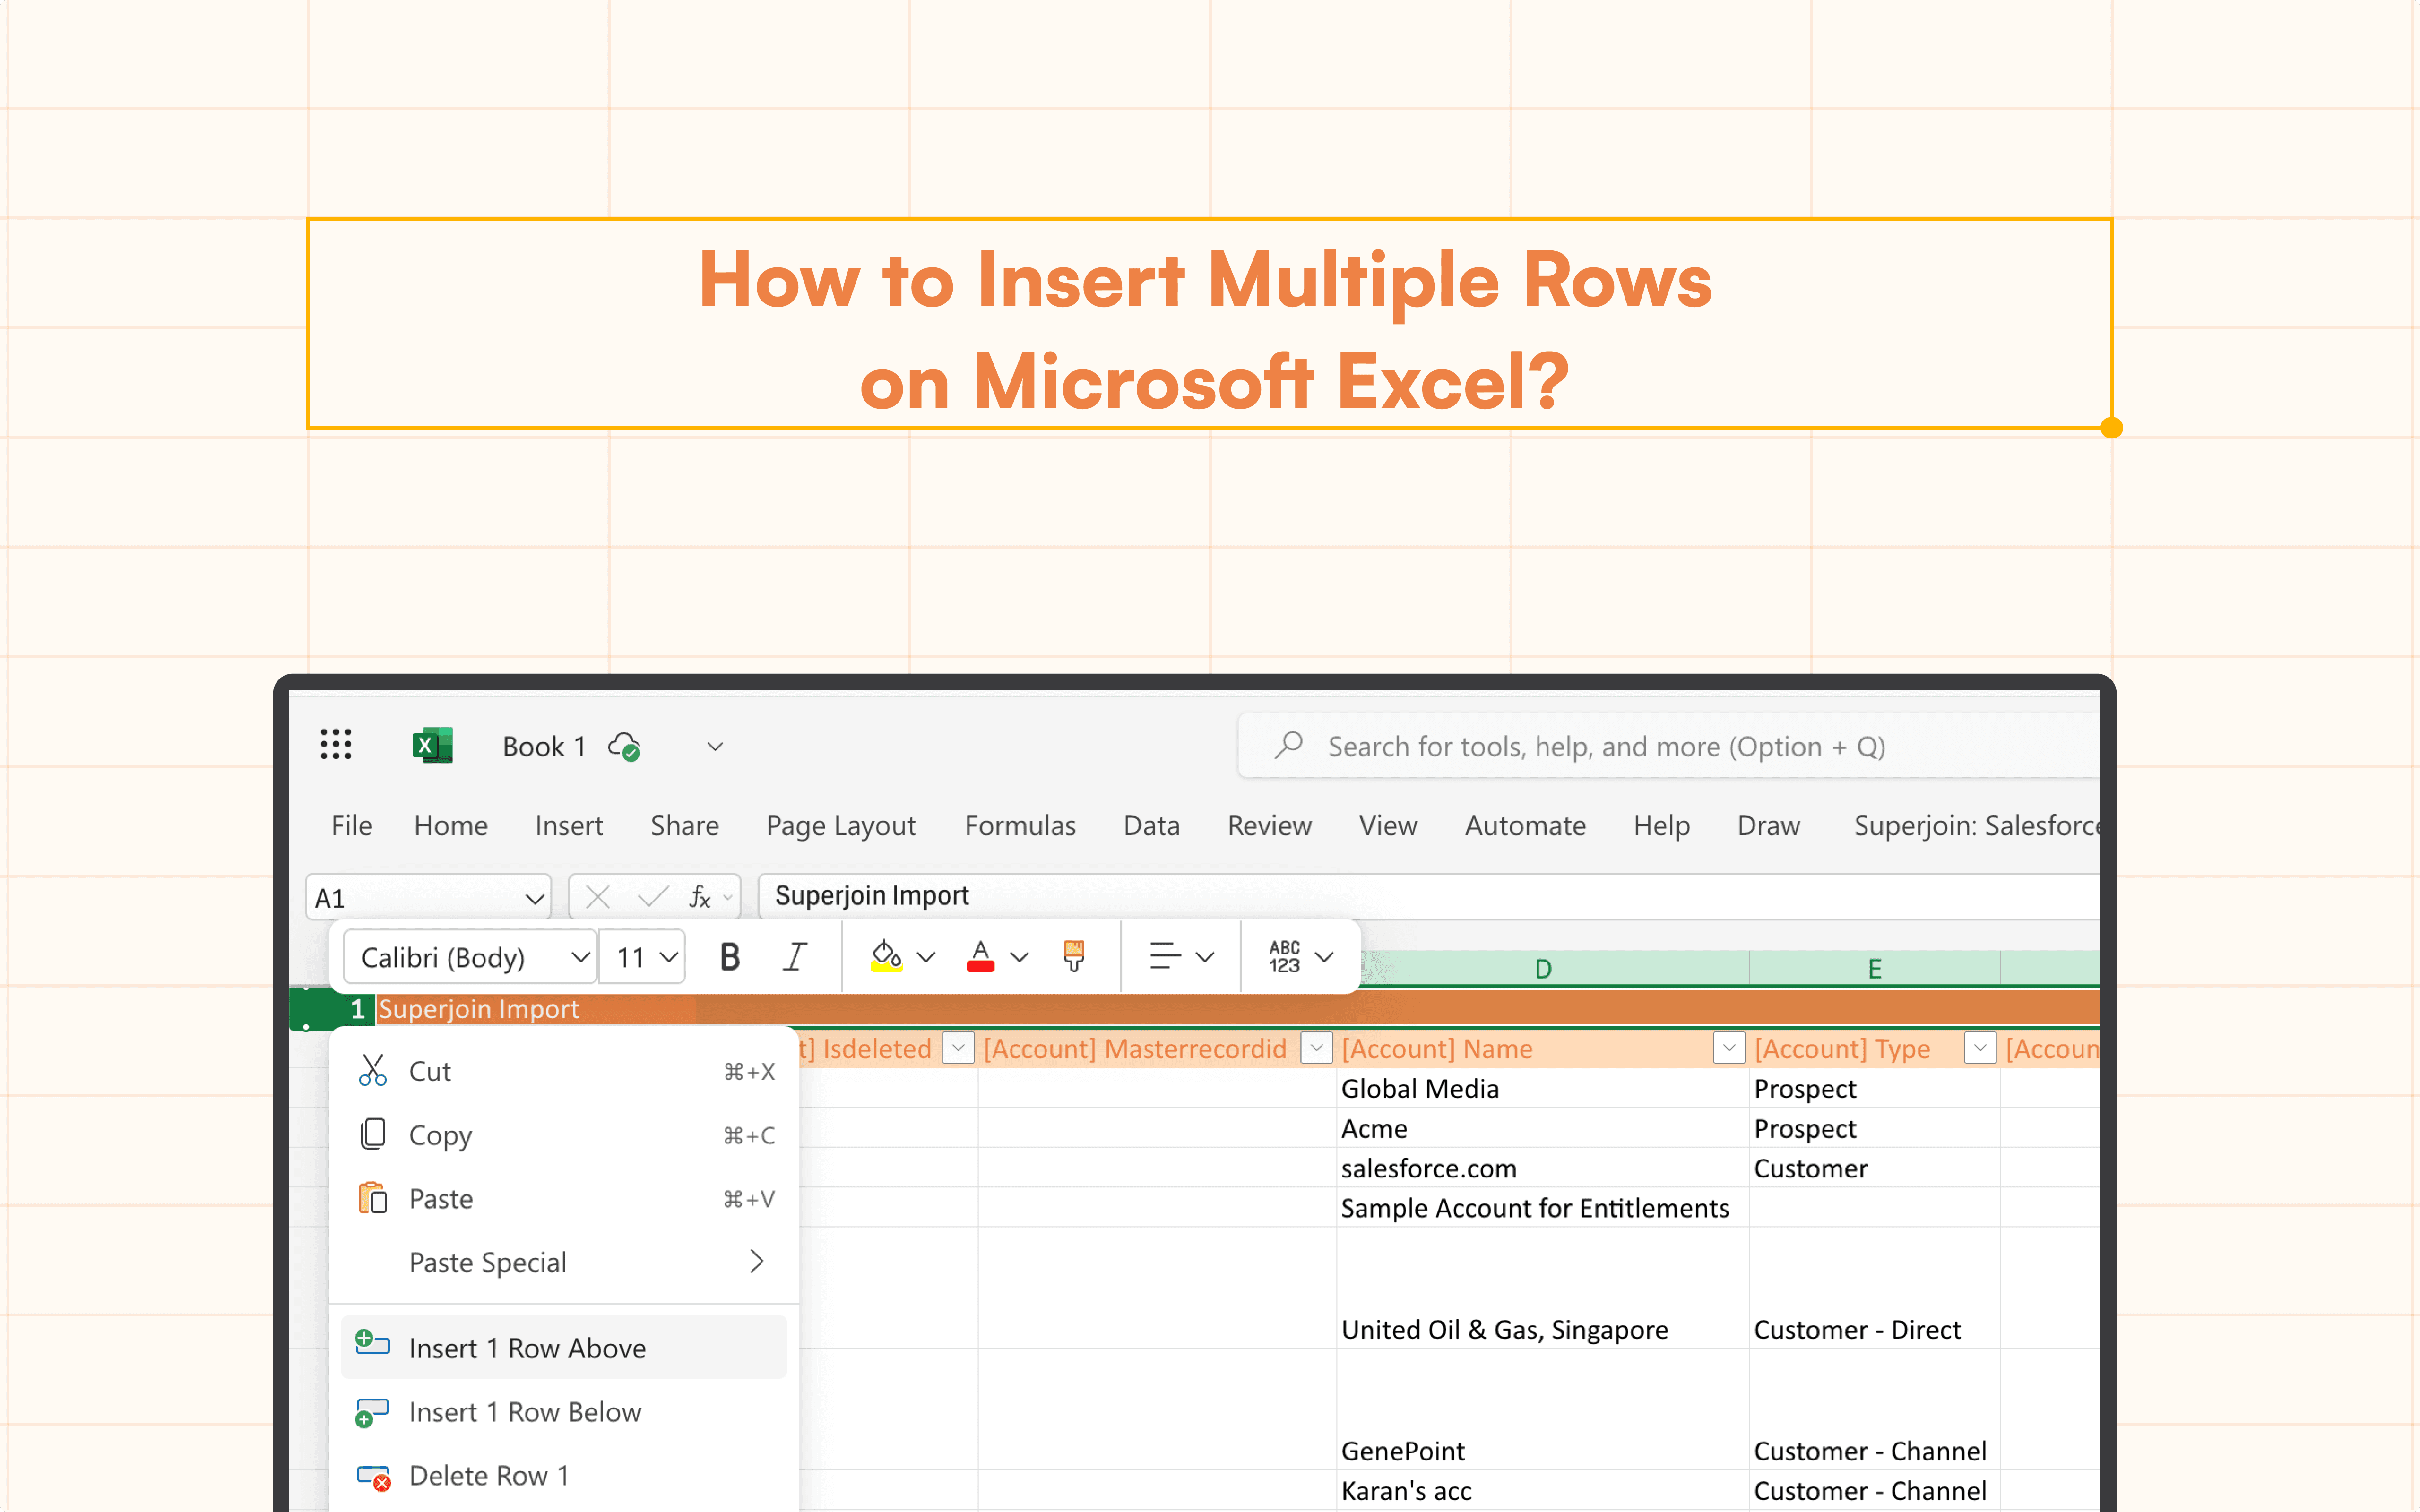
How to Insert Multiple Rows in Excel: A Simple Guide
Discover how to quickly insert multiple rows in Microsoft Excel. Follow our simple steps to enhance your spreadsheet management
Table of Contents
Introduction
The ability to insert numerous rows in Excel can save a ton of time when working with large datasets. Understanding how to insert multiple rows effectively can significantly increase your productivity, whether you need to add rows for new data or just make extra room in your spreadsheet. We'll look at a variety of strategies in this blog post, ranging from simple to more complex, for inserting numerous rows in Excel.
Basic Method: Inserting a Single Row
Before we dive into inserting multiple rows, let's start with the basics of inserting a single row:
Using the Insert Tab
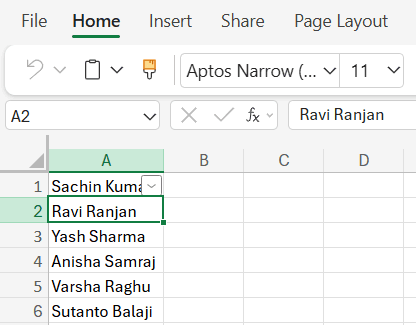
In your Excel sheet, select the row where you want to insert a new row above or below it.
Click on the "Insert" tab in the menu bar.
Choose "Insert row above" or "Insert row below" depending on your preference.

Using the Right-Click Menu
Right-click on the row number where you want to insert a new row.From the context menu, select "Insert row above" or "Insert row below."
3 Methods for Inserting Multiple Rows
Insert Menu
Select the rows where you want to insert multiple rows.
Click and drag over the row numbers on the left side of the sheet to highlight multiple rows.
Click on the "Insert" tab in the home bar.
Choose "Insert rows above" or "Insert rows below".
Excel will insert the same number of rows as you have selected.

Right-Click Menu
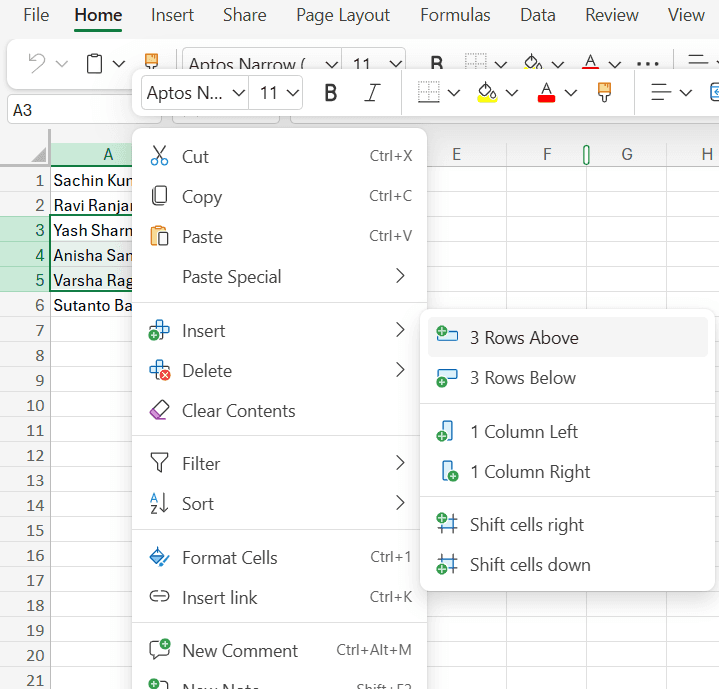
Select the rows where you want to insert multiple rows.
Click and drag over the row numbers on the left side of the sheet.
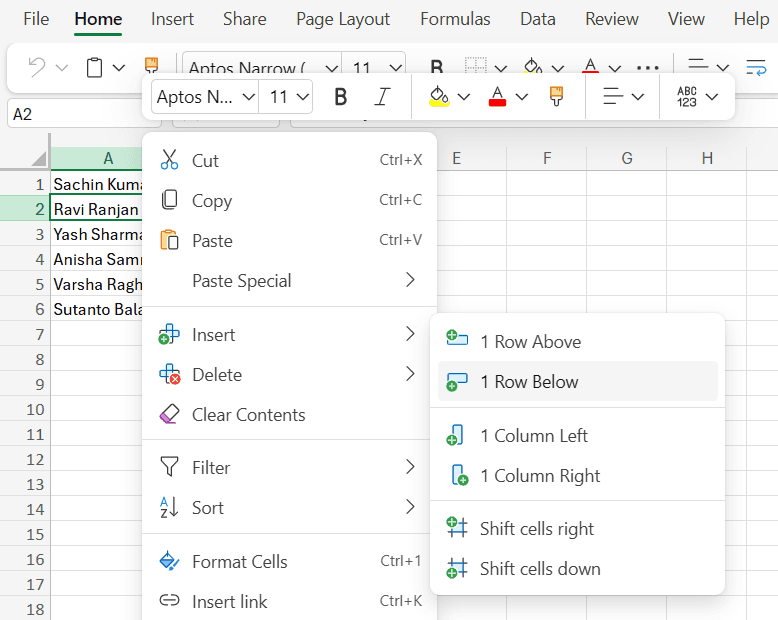
Right-click on the selected rows.
Choose "Insert X rows above" or "Insert X rows below" from the context menu.
The options will reflect the number of rows you have selected.
Keyboard Shortcut
Excel does not have a direct built-in keyboard shortcut to insert multiple rows directly, but you can use a sequence of actions:
Select the row where you want to insert rows.
Press Ctrl + Alt + Shift + = (Windows) or Cmd + Option + Shift + = (Mac) to insert rows above.
Alternatively, use the F4 key to repeat the last action of inserting a row:
Insert a single row using any method (Insert Menu or Right-Click Menu).
Select the next row and press F4 to repeat the last action. This is useful for inserting rows one at a time repeatedly.
This method is particularly useful when you need to insert rows into non-contiguous sections of your spreadsheet, as you can simply select the desired row and repeat the keyboard shortcut.
Deleting and Clearing Rows
In addition to inserting rows, you may also need to delete or clear rows in your spreadsheet:
To delete rows, simply select the rows you want to remove, right-click, & select "Delete rows".
To clear the content within rows without deleting the rows themselves, select the rows and press the "Delete" key, then choose "Clear contents."
Conclusion
Inserting multiple rows in Excel is a simple yet essential skill for efficient data management. Whether you're using the Insert menu, right-click menu or keyboard shortcuts, there's a method to suit your needs. By mastering these techniques, you'll be able to work with large datasets more efficiently, saving time and increasing your productivity.
Say Goodbye To Tedious Data Exports! 🚀
Are you tired of spending hours manually exporting CSVs from different tools and importing them into Excel?
Superjoin is a data connector for Excel & Google Sheets that connects your favorite SaaS tools to Excel automatically. You can get data from these platforms into Excel automatically to build reports that update automatically.
Bid farewell to tedious exports and repetitive tasks. With Superjoin, you can add 1 additional day to your week. Try Superjoin for free or schedule a demo.
Introduction
The ability to insert numerous rows in Excel can save a ton of time when working with large datasets. Understanding how to insert multiple rows effectively can significantly increase your productivity, whether you need to add rows for new data or just make extra room in your spreadsheet. We'll look at a variety of strategies in this blog post, ranging from simple to more complex, for inserting numerous rows in Excel.
Basic Method: Inserting a Single Row
Before we dive into inserting multiple rows, let's start with the basics of inserting a single row:
Using the Insert Tab
In your Excel sheet, select the row where you want to insert a new row above or below it.
Click on the "Insert" tab in the menu bar.
Choose "Insert row above" or "Insert row below" depending on your preference.
Using the Right-Click Menu
Right-click on the row number where you want to insert a new row.From the context menu, select "Insert row above" or "Insert row below."
3 Methods for Inserting Multiple Rows
Insert Menu
Select the rows where you want to insert multiple rows.
Click and drag over the row numbers on the left side of the sheet to highlight multiple rows.
Click on the "Insert" tab in the home bar.
Choose "Insert rows above" or "Insert rows below".
Excel will insert the same number of rows as you have selected.
Right-Click Menu
Select the rows where you want to insert multiple rows.
Click and drag over the row numbers on the left side of the sheet.
Right-click on the selected rows.
Choose "Insert X rows above" or "Insert X rows below" from the context menu.
The options will reflect the number of rows you have selected.
Keyboard Shortcut
Excel does not have a direct built-in keyboard shortcut to insert multiple rows directly, but you can use a sequence of actions:
Select the row where you want to insert rows.
Press Ctrl + Alt + Shift + = (Windows) or Cmd + Option + Shift + = (Mac) to insert rows above.
Alternatively, use the F4 key to repeat the last action of inserting a row:
Insert a single row using any method (Insert Menu or Right-Click Menu).
Select the next row and press F4 to repeat the last action. This is useful for inserting rows one at a time repeatedly.
This method is particularly useful when you need to insert rows into non-contiguous sections of your spreadsheet, as you can simply select the desired row and repeat the keyboard shortcut.
Deleting and Clearing Rows
In addition to inserting rows, you may also need to delete or clear rows in your spreadsheet:
To delete rows, simply select the rows you want to remove, right-click, & select "Delete rows".
To clear the content within rows without deleting the rows themselves, select the rows and press the "Delete" key, then choose "Clear contents."
Conclusion
Inserting multiple rows in Excel is a simple yet essential skill for efficient data management. Whether you're using the Insert menu, right-click menu or keyboard shortcuts, there's a method to suit your needs. By mastering these techniques, you'll be able to work with large datasets more efficiently, saving time and increasing your productivity.
Say Goodbye To Tedious Data Exports! 🚀
Are you tired of spending hours manually exporting CSVs from different tools and importing them into Excel?
Superjoin is a data connector for Excel & Google Sheets that connects your favorite SaaS tools to Excel automatically. You can get data from these platforms into Excel automatically to build reports that update automatically.
Bid farewell to tedious exports and repetitive tasks. With Superjoin, you can add 1 additional day to your week. Try Superjoin for free or schedule a demo.
FAQs
Can I insert more than one row at a time in Excel?
Can I insert more than one row at a time in Excel?
How do you insert multiple rows in Excel on a Mac?
How do you insert multiple rows in Excel on a Mac?
How do I automatically add rows in Excel?
How do I automatically add rows in Excel?
Automatic Data Pulls
Visual Data Preview
Set Alerts
other related blogs

Try it now