Microsoft Excel Tutorial
How to Put Borders in Microsoft Excel
Learn how to add, customize borders in Microsoft Excel. Enhance readability, highlight key data, and create professional spreadsheets with these tips.
Table of Contents

Excel borders are crucial for enhancing the presentation, readability, and organizing of data. Borders are useful for emphasizing important information and visually separating data elements, whether you're working on intricate spreadsheets, organizing financial reports, or reviewing project data. We'll look at how to add, modify, and troubleshoot borders in Excel in this guide.
Let's take a step-by-step look at the process!
Why Use Borders in Excel?
Your data will look more organized and professional with borders. Using borders allows you to:
Sections can be visually separated to improve readability.
Emphasize important areas for more thorough study.
Make your spreadsheets look better overall.
Adding Basic Borders in Excel
To add borders in Excel, follow these simple steps:
First, copy the entire content that you wish to apply borders to. Next, navigate to the border option.
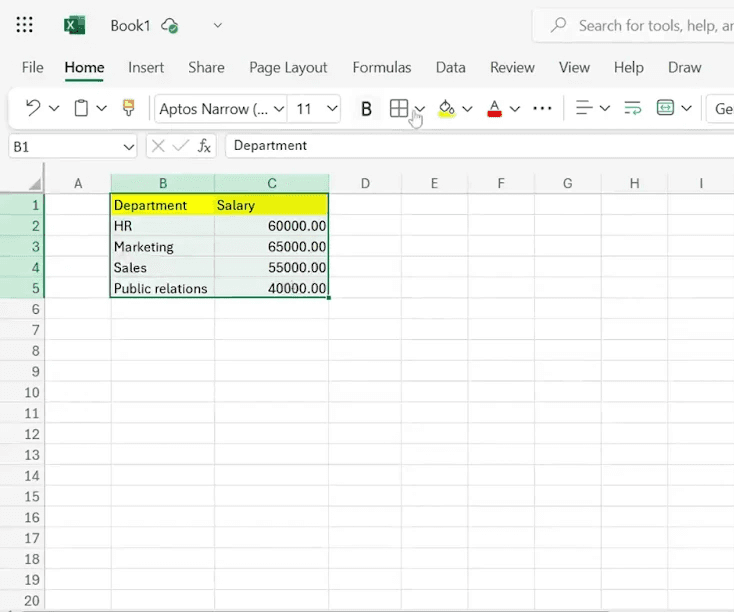
One method is to select All Borders. This is just one way to apply borders.
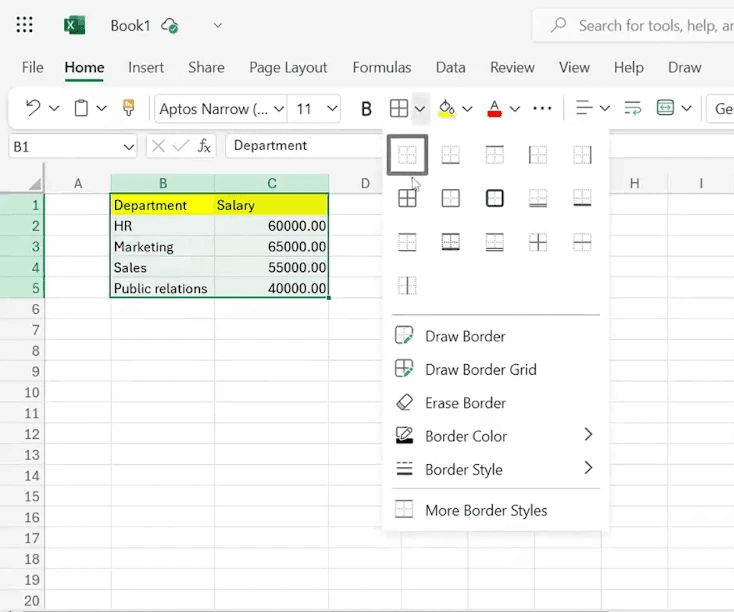
Alternatively, you can customize the borders according to your preferences.For instance, you may want to apply thicker lines at both the bottom and the top.

Customizing Border Styles for Professional Spreadsheets
You also have the option to change the colors of the borders. Feel free to choose from various colors to suit your design.
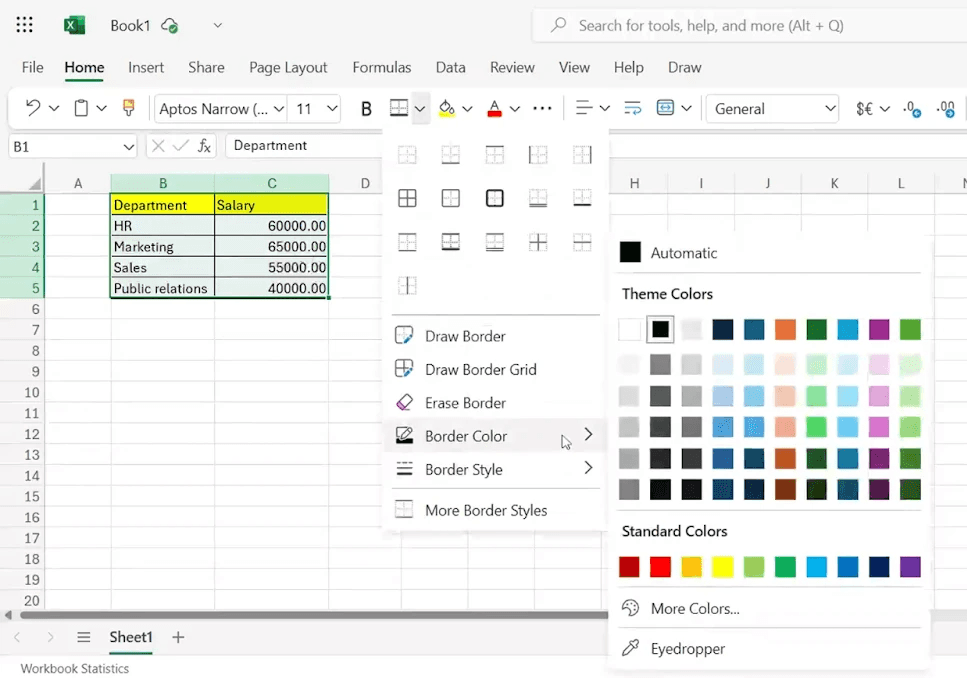
Additionally, you can format borders based on different categories such as HR, marketing, or sales. All related options are readily available for you to explore.

Managing Border Conflicts
When borders overlap or rules conflict, try these solutions:
Prioritize Rules: Conditional formatting applies rules from top to bottom. Adjust the order to resolve conflicts.
Clear Formatting: Select the cells and go to Format > Clear formatting to reset them.
Manual Overrides: Apply borders manually via the toolbar for quick fixes. These will stay until a new rule triggers.
When utilizing sophisticated border approaches, these pointers can assist you in keeping spreadsheets neat and useful.
Conclusion
In conclusion, mastering how to put borders on Microsoft Excel can significantly improve your spreadsheet’s readability and visual appeal.
Superjoin is an Excel add-in that automatically connects your favorite SaaS tools to your spreadsheets. It pulls data directly into Excel allowing you to create reports that update themselves without any manual work on your part.
Bid farewell to tedious exports and repetitive tasks. With Superjoin, you can add one additional day to your week. Try Superjoin for free or schedule a demo.
Excel borders are crucial for enhancing the presentation, readability, and organizing of data. Borders are useful for emphasizing important information and visually separating data elements, whether you're working on intricate spreadsheets, organizing financial reports, or reviewing project data. We'll look at how to add, modify, and troubleshoot borders in Excel in this guide.
Let's take a step-by-step look at the process!
Why Use Borders in Excel?
Your data will look more organized and professional with borders. Using borders allows you to:
Sections can be visually separated to improve readability.
Emphasize important areas for more thorough study.
Make your spreadsheets look better overall.
Adding Basic Borders in Excel
To add borders in Excel, follow these simple steps:
First, copy the entire content that you wish to apply borders to. Next, navigate to the border option.
One method is to select All Borders. This is just one way to apply borders.
Alternatively, you can customize the borders according to your preferences.For instance, you may want to apply thicker lines at both the bottom and the top.
Customizing Border Styles for Professional Spreadsheets
You also have the option to change the colors of the borders. Feel free to choose from various colors to suit your design.
Additionally, you can format borders based on different categories such as HR, marketing, or sales. All related options are readily available for you to explore.
Managing Border Conflicts
When borders overlap or rules conflict, try these solutions:
Prioritize Rules: Conditional formatting applies rules from top to bottom. Adjust the order to resolve conflicts.
Clear Formatting: Select the cells and go to Format > Clear formatting to reset them.
Manual Overrides: Apply borders manually via the toolbar for quick fixes. These will stay until a new rule triggers.
When utilizing sophisticated border approaches, these pointers can assist you in keeping spreadsheets neat and useful.
Conclusion
In conclusion, mastering how to put borders on Microsoft Excel can significantly improve your spreadsheet’s readability and visual appeal.
Superjoin is an Excel add-in that automatically connects your favorite SaaS tools to your spreadsheets. It pulls data directly into Excel allowing you to create reports that update themselves without any manual work on your part.
Bid farewell to tedious exports and repetitive tasks. With Superjoin, you can add one additional day to your week. Try Superjoin for free or schedule a demo.
FAQs
How do I add borders in Excel?
How do I add borders in Excel?
How do I add a border in a spreadsheet?
How do I add a border in a spreadsheet?
How do I add a frame in Excel?
How do I add a frame in Excel?
Automatic Data Pulls
Visual Data Preview
Set Alerts
other related blogs

Try it now